Zentyal server is a an alternative for Microsoft Server, it is Ubuntu based Small and Medium Enterprise Server. The latest stable version of Zentyal is build upon Ubuntu 14.04 LTS. Zentyal can be used as File/print Server (SAMBA 4), Mail server, it supports Exchange Server, Microsoft Outlook 2007,2010 and 2013 as well, it Provide interoperability among Linux and Microsoft Active Directory.

Step 1 - Boot the system with DVD/USB and Select the installation language as English.

Step 2 - Two types of installation methods are here, I am selecting Expert mod.
You can install Zentyal by using the default mode which deletes all disk contents and creates the partitions required by Zentyal by using LVM or you can choose the expert mode which allows customized partitioning. Most users should choose the default option unless they are installing on a server with RAID software or they want to create special partitioning according to specific requirements. Using the expert mode you can also choose to perform a headless installation (without local desktop environment).

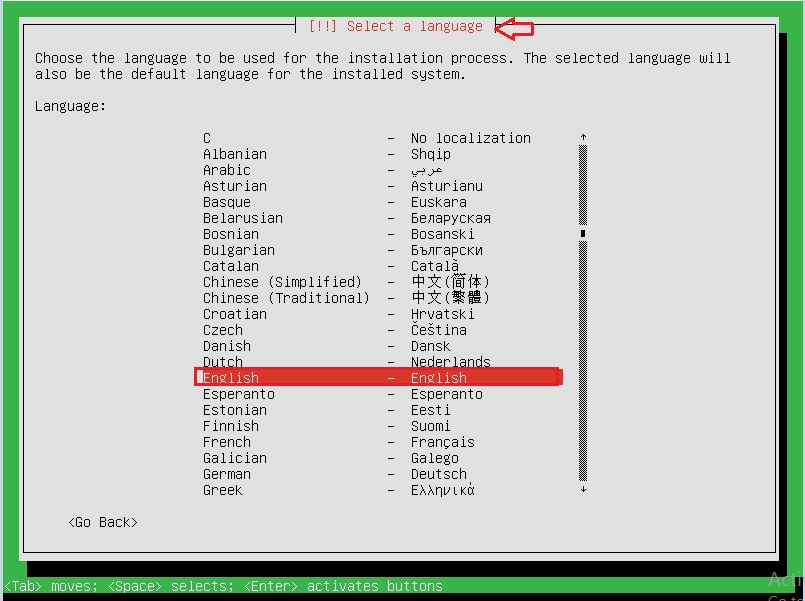
Step 3 - Choose language to be used for installation procedure.
Step 4 - Select your location, it will support time zone selection purpose.

Step 5 - Configure Key Board, here I selecting NO

Step 6 - Please select the country language here, I select English(US).


Step 7 - Configure the Host-Name.

Step 8 - Create new user account for login purpose


Step 9 - Time zone configuration as per our country location automatically selected.


Step 10 - Choose the partitioning method, here I choose "use entire disk" it will create automatically.


Step 11 - Graphical or Remote access we needed, then choose "NO", so we can access graphically.

Step 12 - Starting installation process.


Step 13 - Configure the package manager without using proxy settings.


Step 14 - Install the GRUB option if it is main OS. Otherwise old one is modified.


Step 15 - Finish the installation steps.


Step 16 - After complete the installation steps, start the OS and check the IP details.


Step 17 - After checking the IP, access with that IP and configure the initial setup. Here I am configuring from Remote PC.


Step 18 - In the Initial setup, we need to configure Interface Type, here I choose eth0 is LAN.


Step 19 - Select the server type, this server is primary DC (Domain Controller), so I have selected Standard and start the configuration.


When modules will get loaded, a dashboard will appear, on left hand side
a of dashboard a list of panels will be visible, with a list of DNS,
DHCP , VPN, LTSP, MAIL, Domain Services etc. Now you are able to utilize
zentyal platform for various services as per your need. You will be
able to monitor network status, running services, updates available or
current DHCP Lease directory from dashboard etc.


That's it...
No comments:
Post a Comment