Amazon Web Services is a collection of remote computing services, also called web services, that make up a cloud computing platform offered by Amazon.com.
Amazon Elastic Compute Cloud (Amazon EC2) is a web service that provides resizeable compute capacity in the cloud. The AWS Free Tier is designed to enable you to get hands-on experience with AWS at no charge for 12 months after you sign up. After creating your AWS account you can use any of the 21 products and services, listed below, for free within certain usage limits.
Step 1 - Before login to Amazon Web Service, we want to create a new account and login to that account.
Step 2 - After login, we can see the AWS Products and Services. Here we can select which service we need.
Step 3 - This is the AWS Instance Dashboard. Here we can see Instance settings and Configuration options.
Step 4 - Here, we can change the "Region", by selecting the nearest location.
Step 5 - Create new Instance in AWS. Go to Instance => Launch Instance.
Step 6 - After Launch, first option will be "Choose AMI". Here, we can see all types of OS, Free tier & Paid Tier. Here, I am creating "Free Tire" server and OS "Redhat".
Step 7 - Choose the instance type. I am selecting "Free Tier t2.micro" and click on "Next: Configuration Instance Details".
Step 8 - Here we can choose default settings and click on "Next ADD Storage".
Step 9 - We can choose default setting and Click on "Next: Tag Instance". By default, storage size provided is 8Gb or 10Gb.
Step 10 - Here, we can add the instance Tag Name and click on "Next: Configure Security Group".
Step 11 - This option is Firewall / Security section. We can specify which port and service to be enabled. Enable "Incoming and Outgoing" communication and click on "Review and launch".
Step 12 - Finally, Review the Configuration setting and click on "Review and Launch".
Step 13 - After Reviewing click on "Launch", at that time it will ask for Key pair Option. We need to create new key pair and download. This key pair is used for connecting server through Putty / SSH.
Select "Create a new Key Pair" => Add the Name "ODK-key" => Download key pair => Click on "Lauanch Instance".
Step 14 - New Instance is created successfully. Now we can use Instance, click on "View Instance" It will take a few minutes for creating instance.
Step 15 - Now, we need to assign the IP-Address for this Instance. Because after restarting this Instance, it may change the IP-Address.
Go to Elastic IPs => Allocate New Address => Yes, Allocate.
After that we will get a new IP-Address from AWS. Select the new IP-Address => Associate Address => Select the "Instance and Private IP-Address" => Associate.
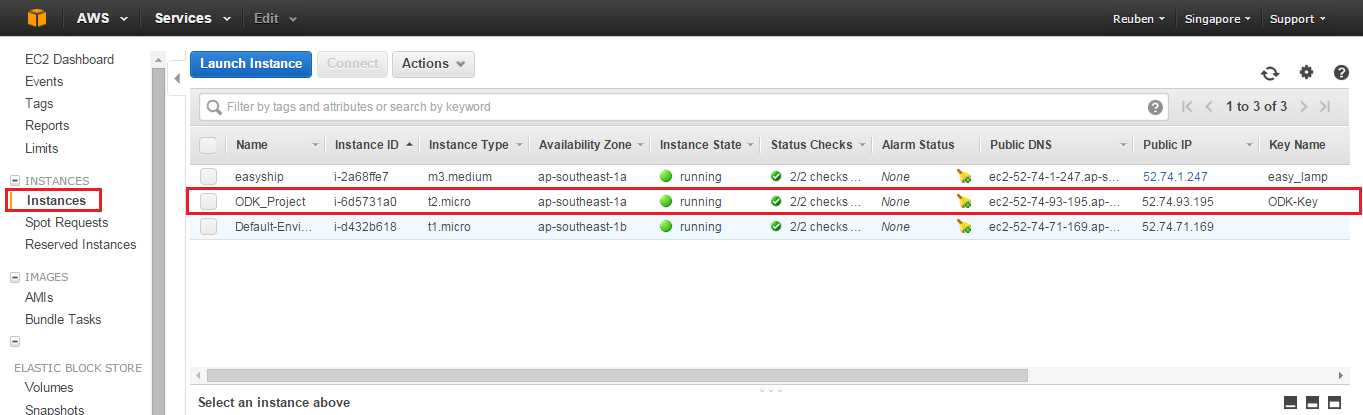
Step 16 - Now we can check Instance details form Instance Dashboard. Here we can also see "Private and Public IP-Address and DNS".
Step 17 - Now Our Server Configuration is completed. We want to connect the server using SSH / Putty to configure.
First we need to convert .pem key to .ppk key, then only we can use putty. Here I have used converting software "Putty key Generator".
Open PuTTYgen => Click "Load" on the right side => Browse and Open your .pem file => PuTTY will auto-detect everything it needs => And you just need to click "Save private key" and you can save your ppk key for use with PuTTY.
Step 18 - After converting, we can see the .ppk file. Now we can connect the server using putty.
In AWS server I am using Key Pair to Login the User name "ec2-user".
After login as normal user, if we need root privilege, use "sudo" or we can use "sudo su -" command.
Now we are logged in to our AWS server and we can configure and setup the server....
In AWS Server => Ubuntu - Username : ubuntu
=> Redhat - Username : ec2-user
That's it...


